Julie Bowersett

juliebowersett{at}gmail{dot}com
Navigation
Search
Categories

Blog Writing Course Alumni

From Guide to Art Schools

CraftGossip

Entries in King Cake (3)

Wednesday
Feb102016

Winter Holidays

Every day that passes without a new blog post seems to sink me further and further.  So, in an attempt to get back on my horse, I'm writing this post and filling it will lots of miscellany which is what my life is all about these days.  I have been finding tiny chunks of time to sew, much of it by hand in the evenings.  I've got some projects that are *almost* ready for blogging and am hoping that I can keep a more regular schedule soon.  Much of my time recently has been spent in the ongoing project of organizing my studio.  I am finally seeing light at the end of the tunnel, and will share the "big reveal" here when I'm finished.

Technology is a wonderful thing, except when it's not.  My old laptop died a few weeks ago and I had to replace it.  Which also meant reinstalling all of the various programs I use.  Photoshop needed to be installed before I could hope to post any pictures so I set about that task today.  Except that my new laptop doesn't have a CD drive, so I had to download all of the necessary files and then spend an hour on chat with Adobe before they finally told me I'd have to upgrade to the latest program to be compatible with my new operating system.  Sigh.

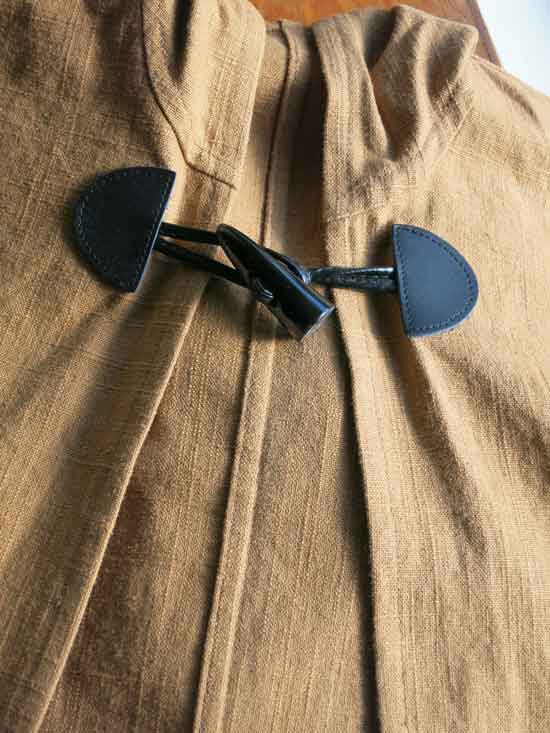
Christmas came and went.  Along with making multiple batches of my usual Salted Caramel Chex Mix and Rosemary Pecans with Cranberries I sewed my boys a couple of walking capes which can function as attire for Jedi, Hobbits, Medieval peasants or whatever takes their fancy. Here's a shot of the two capes, front and back.
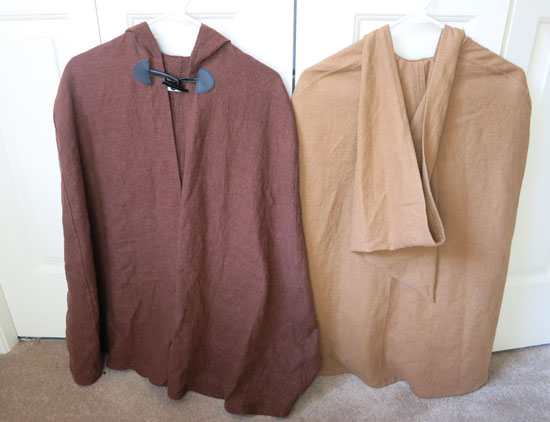
The fabric was rayon/linen and very nice to work with. I flat felled all of the seams which makes for a nice, clean and sturdy finish.
I'm still working on a couple of "big white shirts" (think pirate) for them as well.  I've got to set the grommets still but they are nearly finished.

We had a big snow storm in January and the newest member of our family, aptly named Winter, really enjoyed it along with my kids. I, however, lost a week of my life. :-)

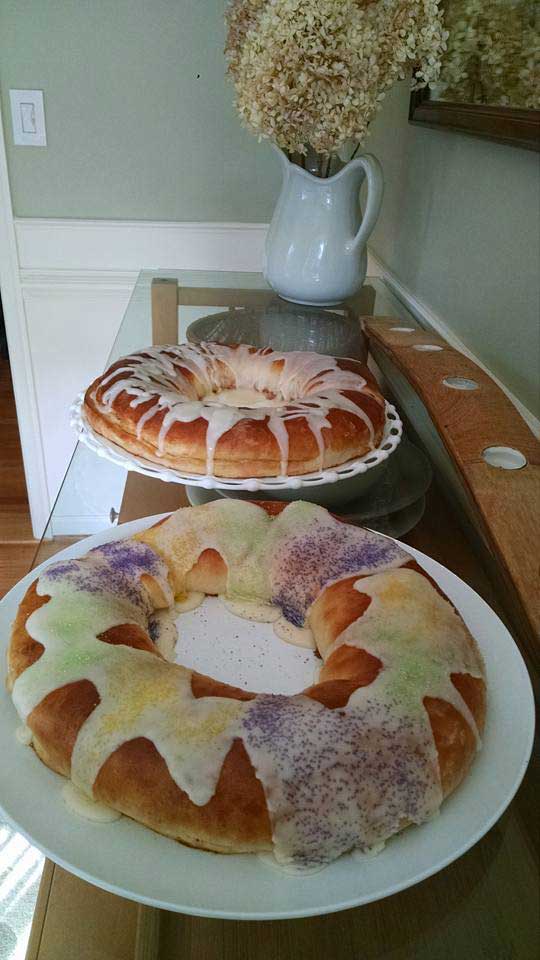
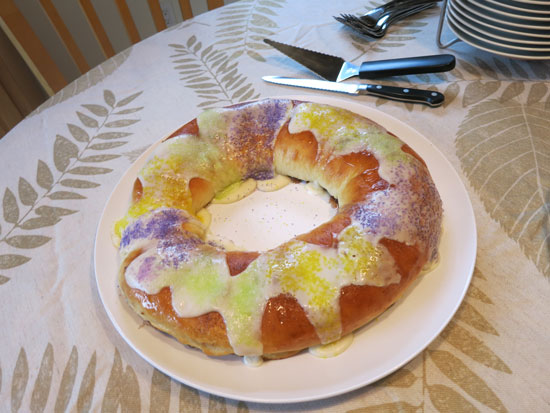
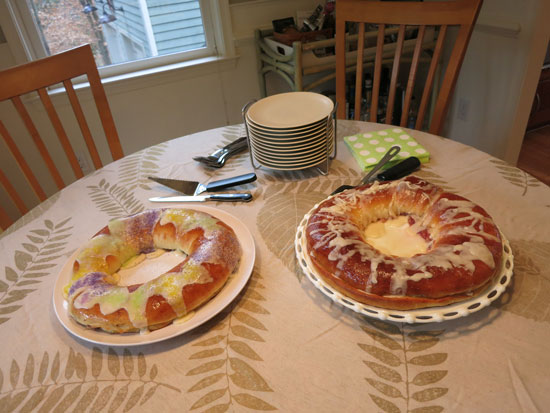
A few years ago I blogged about making King Cake for Mardi Gras.  This year I tried a recipe from Southern Living.  The Southern Living cakes (the recipe makes 2) are assembled jelly roll style rather than braiding like the recipe I've always used in the past.  I made a different flavor for each of the cakes.  The first was the traditional cinnamon-sugar filling complete with green, gold and purple sanding sugar.
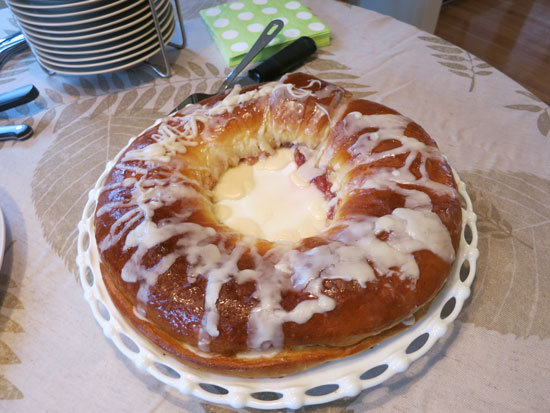
The second had a cream cheese filling and cherry preserves (the recipe for the cream cheese filling is included in the Southern Living recipe).  I skipped the sanding sugar on this one.
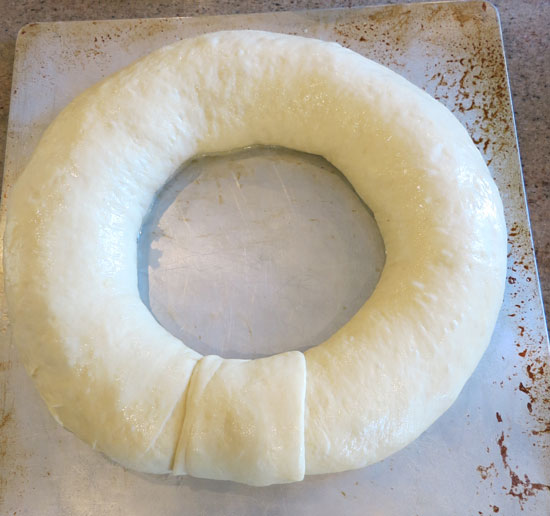
This recipe was nearly as good as my original and much less work.  The best advice I have is to make sure you don't overbake the cakes which will dry them out. Also, the area where the two ends are joined together to make the ring is always a little skimpy so I used a bit of extra dough and wrapped the join to add a little substance to that area.  Make sure that all of the seams are well sealed so the filling doesn't leak out while baking.
I invited a group of my friends over to celebrate Mardi Gras and help me eat up these sweets.
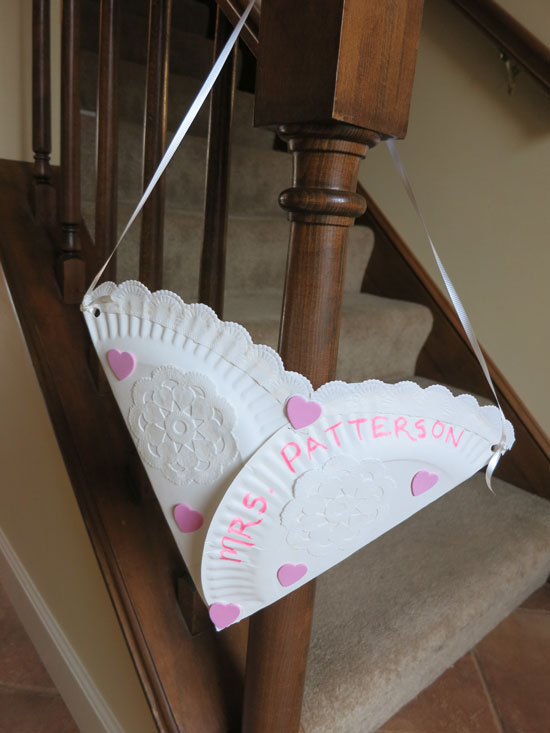
Next up is Valentine's Day.  My kids are busy making cards for their friends and I'm gearing up to lead the craft at the class party (no surprise there).  We're going to make a cute card holder for the delivered valentines.  I found this idea on Pinterest.  Here's my version:
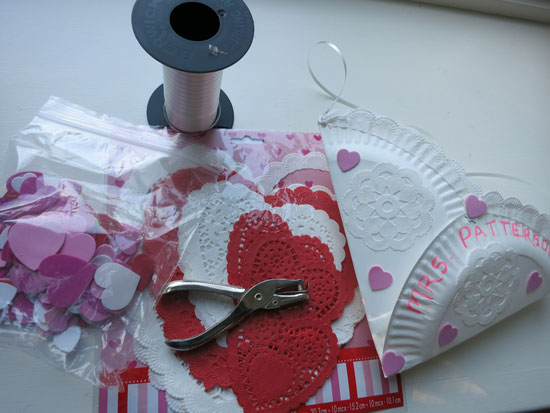
It's simply two paper plates, folded in half and then stapled together in a heart-shaped configuration.  Decorate as desired, punch some holes and hang with a ribbon.

I hope everyone has a wonderful Valentine's Day.

Monday
Feb112013

Masks for Mardi Gras

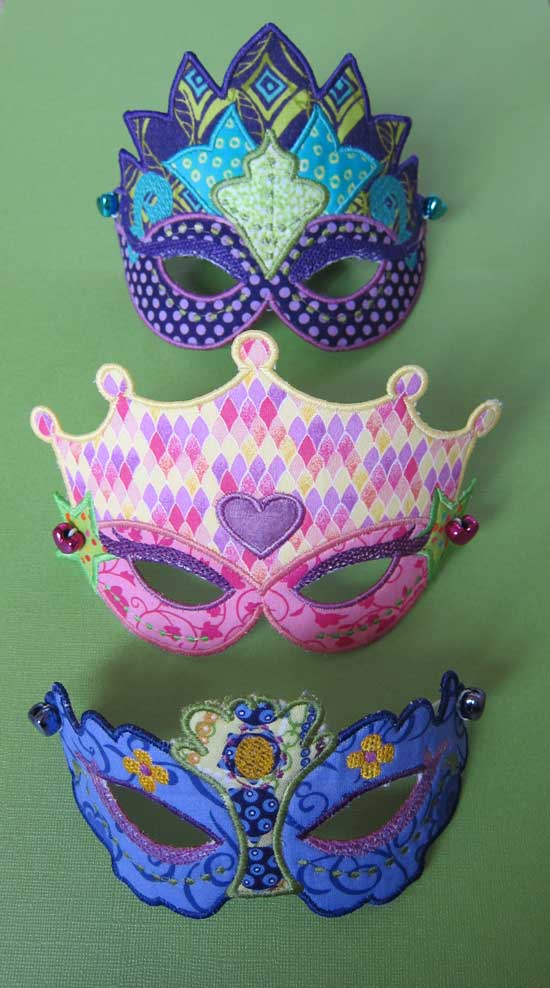
I've been working on these masks for a couple of weeks.  They are for a couple of friends' daughters.  The embroidery designs come from Embroitique and stitch out very nicely.  There are no instructions accompanying the designs, so beginners might have some trouble with this project.  The designer did write a blog post which helped me quite a bit.

My original idea was to make these masks from lamé and other sparkly fabrics but I came to my senses in time and opted for easy-to-work-with quilting cottons.  Even so, I made the blue mask three times.  I would recommend doing a sample to determine how close to trim the fabrics for optimal results.

I hooped two layers of water soluble stabilizer and then used a layer of Floriani's Stitch and Shape which was fantastic for the backing of the mask though fairly difficult to trim away close to the stitching line.  I will experiment with something slightly thinner next time.  After the stitching was complete, I soaked the masks to remove the stabilizer and then shaped them by air drying them wrapped around a cylinder -- I used a rubber band to hold the mask in place on a plastic "jar". 

To attach the elastic band I fed the elastic through one of the stitched (and punched) holes, then through a bead and back through the hole, tying it on the inside.

I am also celebrating Fat Tuesday by baking a King Cake.  You can read my post from last year with all of the details about baking your own.

Laissez les bons temps rouler!

Monday
Feb202012

King Cake for Mardi Gras

Each year our church celebrates Mardi Gras with a music-filled party and King Cake.  I volunteered to help make one of the cakes several years ago, and today found me in my butter- and flour-filled kitchen making another.  The recipe I use is by John Folse and can be found on his website.  It is rich and luscious with an easy-to-work dough.  Here are some pictures of the process along with some of the changes I've made to the recipe.

You begin by making a very soft dough with lots of butter and eggs.  After rising for an hour you roll this out into a large rectangle.

The recipe calls for brushing the dough at this point with melted butter and sprinkling on cinnamon sugar, then cutting into three long strips.  Instead, I cut the three strips first, then use softened, but not melted butter, and spread a layer of butter onto each strip.  I sprinkle on the cinnamon sugar keeping it away from the edges of the strips.

The long edges of each strip are now brought together and sealed, enclosing the sugar mixture.  By keeping the edges free from melted butter and sugar, I have found it much easier to get a good seal along the seams.  When I used the method described in the recipe I found the butter and sugar interfered with this goal.

The next part is probably the trickiest but really is not all that difficult.  The dough is very easy to work with.  Begin by turning the seams to the bottom, then bring three ends together and begin braiding the tubes.  Once the braid has some length, begin forming a circle.  Continue braiding to the other end of the tubes and then bring all of the ends together.  Don't worry if the join does not look perfect -- imperfections get lost in the rising and baking of the cake. 

You will brush an egg wash over the dough now.  You don't need to use two eggs as called for in the recipe.  One egg is even too much.  This would be a good spot to use some liquid eggs if you have them.  Combine with about equal parts of milk.  Now this undergoes another rising and then it is ready to bake.  DON'T overbake!

Fresh out of the oven:

The final step is to apply a glaze and some "bling" (though I think the cake is at it's most beautiful at this fresh-baked stage).  The glaze is another area where I divert from the recipe.  First, the quantity that is made from the recipe is enough for a dozen King Cakes.  I make a much smaller batch.  I also omit the cinnamon after trying it both ways.  The cinnamon makes for a very dark brown glaze that I think detracts from the colored sugar added at the end.

You'll need a really large serving plate -- I've covered a pizza box bottom with parchment foil to make a platter large enough to hold this colossus.

You've still got time to whip up one of these cakes in time for dinner tonight, or bookmark this for next year.  This is a project that will give you a great sense of accomplishment, along with a really tasty treat.  So, enjoy this last day of plenty before the start of Lent.  Just remember, everything in moderation -- there's a reason it's called Fat Tuesday.