Julie Bowersett

juliebowersett{at}gmail{dot}com
Navigation
Search
Categories

Blog Writing Course Alumni

From Guide to Art Schools

CraftGossip

Entries in dress (6)

Saturday
May192018

Simple T-Shirt Dresses

Last summer I made quite a few dresses.  I find dresses cool and easy to wear, with a bit more style than shorts during the warm weather months.  Being short on sewing time (always) I have been trying to start with patterns I already have fitted, changing them to create a new look.  This time I started with my favorite t-shirt pattern, The Perfect T-Shirt by Pamela's Patterns.  This shirt has a bust dart which I like as well as numerous opportunities to adjust the fit.

I began with my tried-and-true pattern.
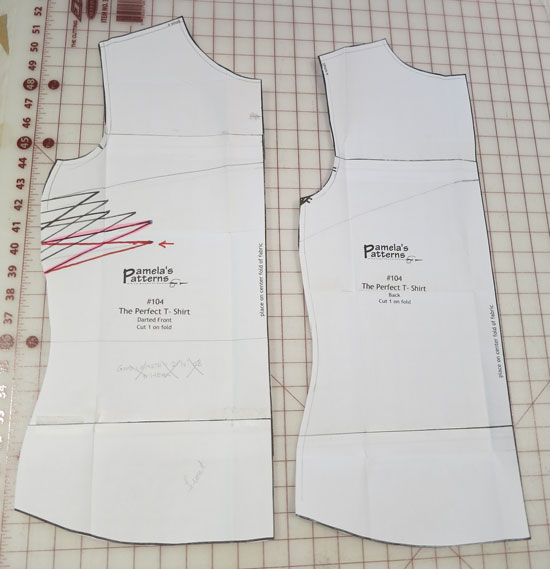
I drew a line perpendicular to the center front at the narrowest point of the waist; you can faintly see the line on the Front pattern in the above picture.  I did the same for the Back.  I retraced the patterns above the lines, adding a seam allowance.
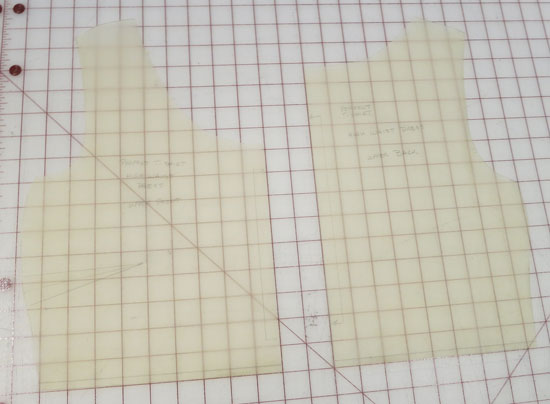
The upper front and back are now finished.

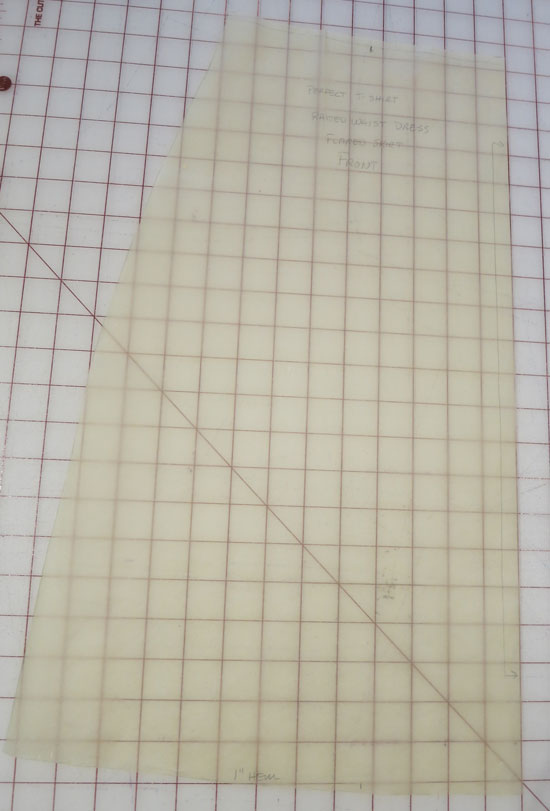
I then worked with the pattern section that remained below the line I had drawn at the waist.  First, I added a seam allowance above the drawn line.  I determined the skirt length that I wanted and extended the center front line to that length.  I also extended the side seam to approximately the same point.  I wanted to flare the skirt but I didn't want to add all of the volume at the side seams (this creates an unbalanced silhouette and can make the side seams appear longer than the rest of the skirt).  Instead, I drew several vertical lines up to (but not through) the seam allowance at the waist, cut along these lines and spread the cuts open to achieve the desired amount of flare.  I drew in a gently curved hem (with hem allowance). When I had all of this complete, I traced a new copy of the skirt pattern.
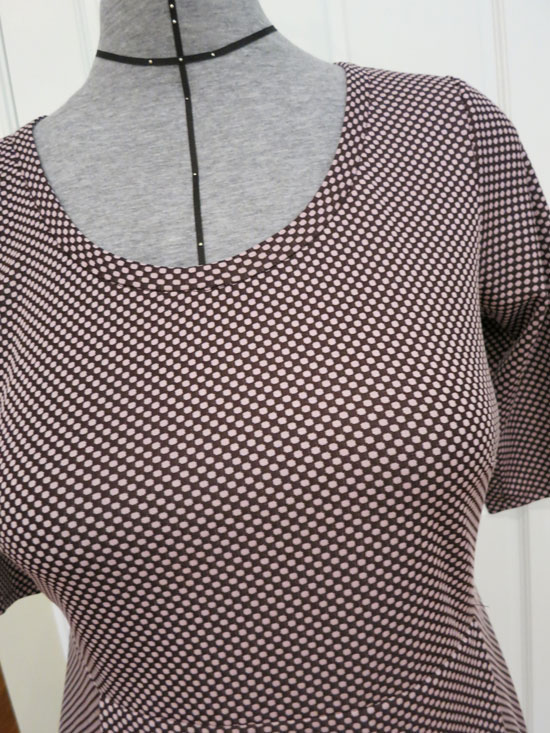
Here's the first dress I made from my new pattern.  I considered this a muslin, but it turned out well enough that I wear it.  It's made from 4-way cotton/spandex jersey.  I bound the neckline with a similar solid fabric.
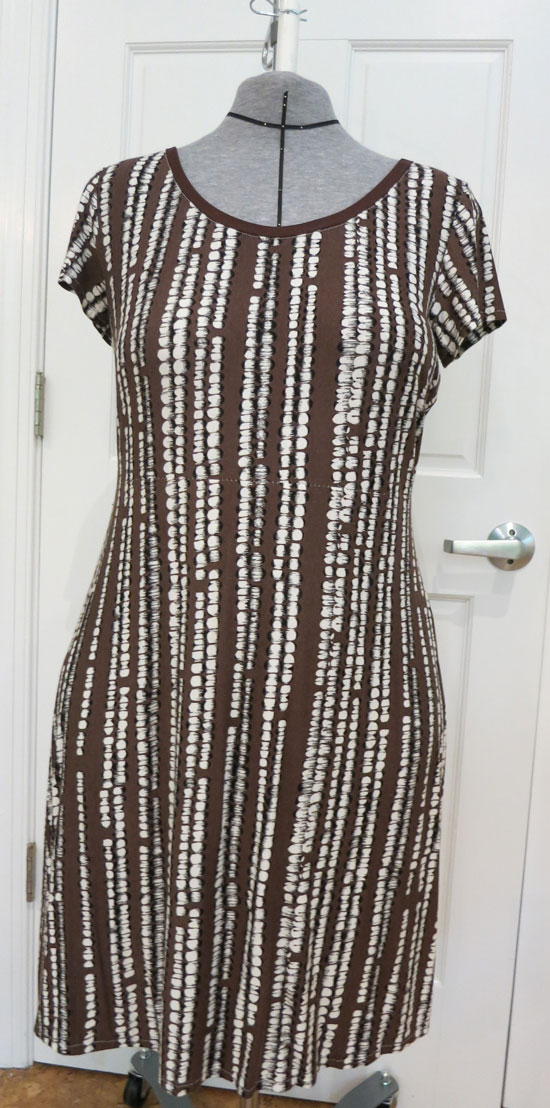
Several other dresses followed:
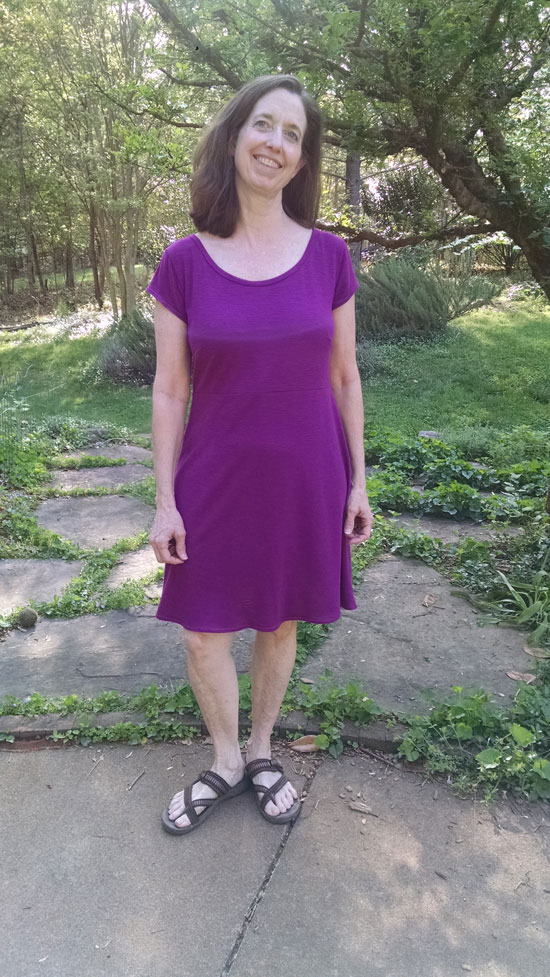
This one is made from a cotton/poly slubbed jersey.
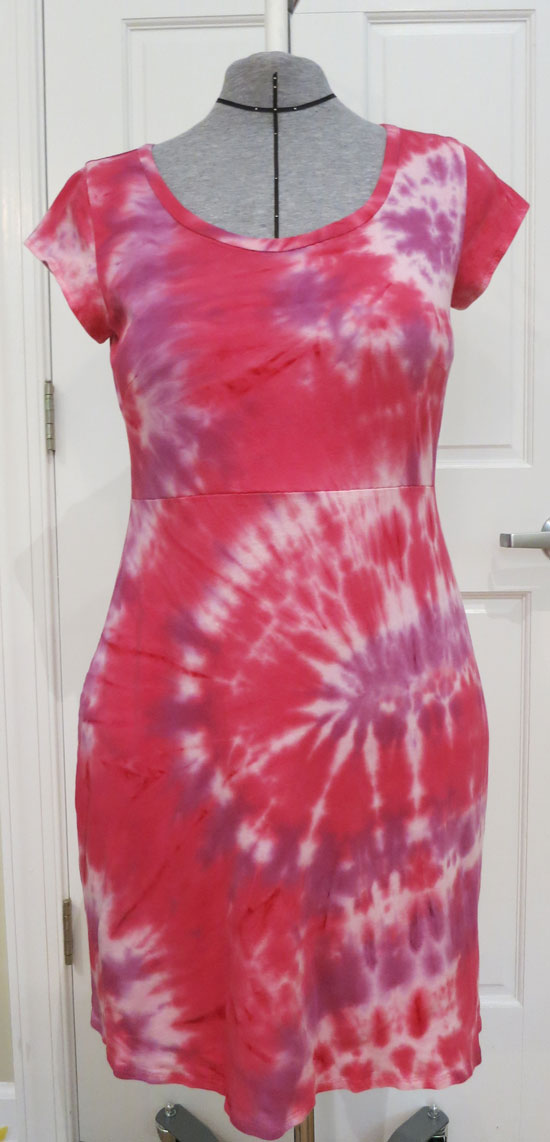
Cotton tie-dye.
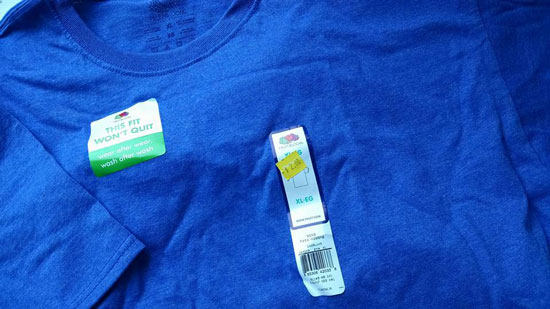
The next dress began its life as two XL t-shirts that I paid $2.00 each for. 
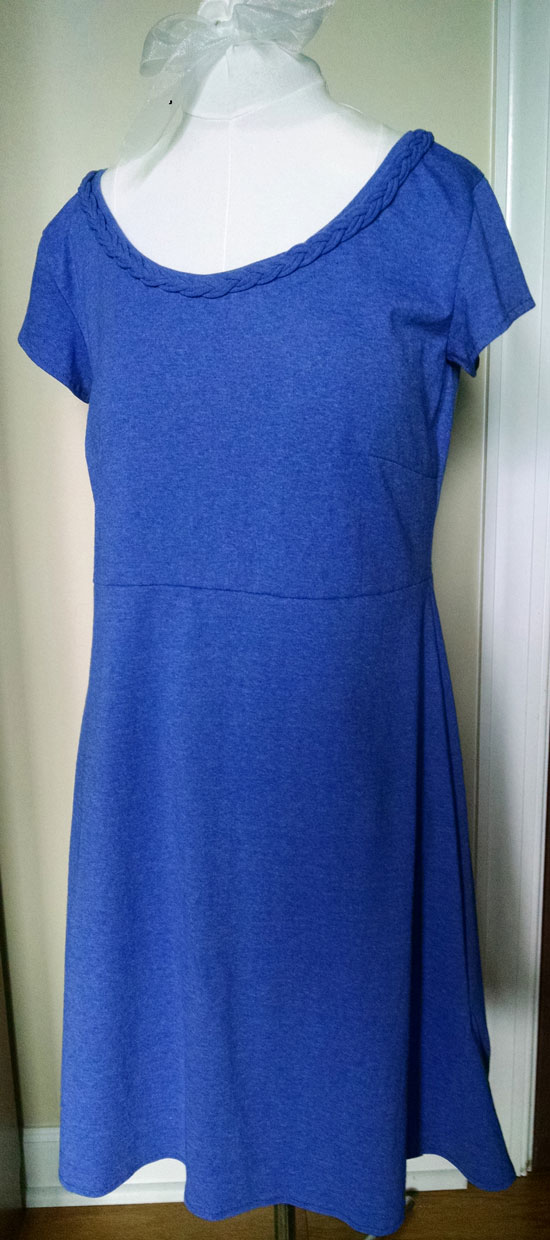
I added a braided trim around the neckline.
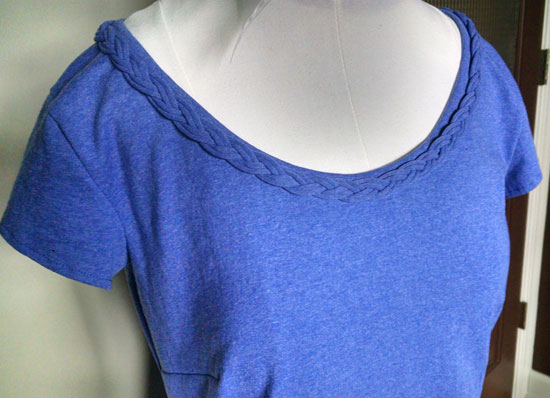
The braid looks more complex than it is.  I took advantage of the fact that knit jersey will roll along the cut edge.  The braid is formed from three strips of fabric cut on the cross grain.  I allowed the edges to curl in before performing a simple three-strand braid.  The two rolled edges of each strip make it appear that the braid was formed from doubled tubes.

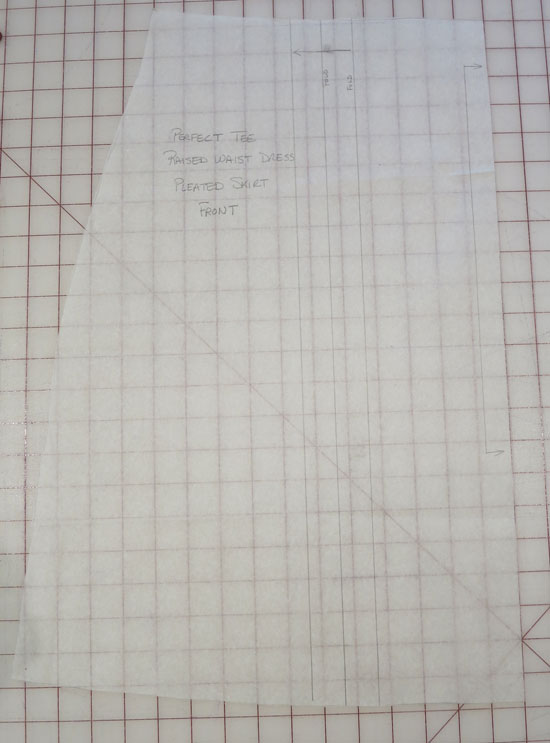
I had one final dress in mind but it required some additional pattern work.  I wanted to add a pleat on either side of center front on the skirt.  I determined the pleat depth and cut the pattern vertically, adding in additional pattern paper to account for the pleat.
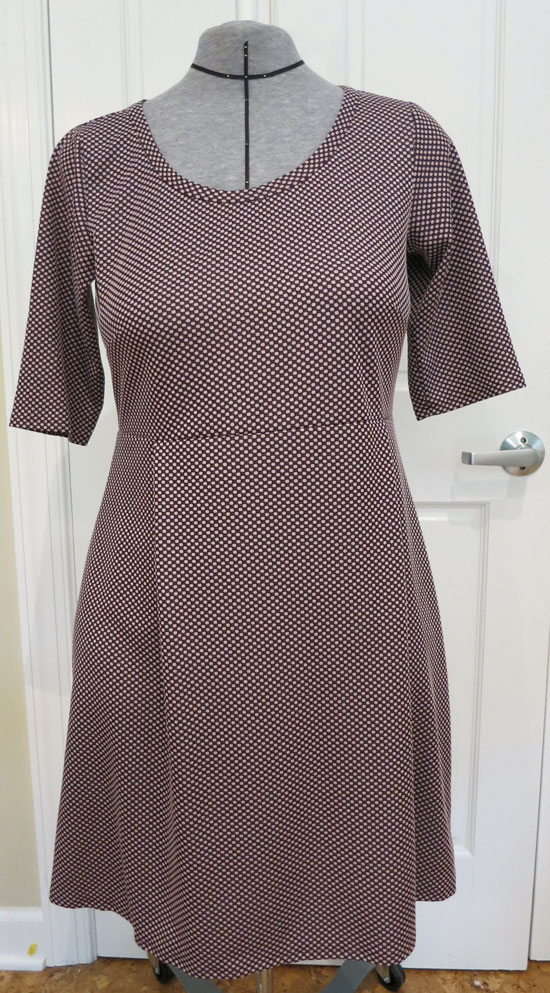
I hope this post will inspire you to use your own t-shirt pattern to create new designs with just a little bit of simple pattern work.

Saturday
Feb042012

Princess Lines and Wool Crepe

A match made in heaven.  Wool crepe may be the most gratifying fabric to sew on, period.  In fact, it if weren't for its ravelly nature I would say it is the perfect fabric.  It is easy to work with, presses well, eases like a dream.  I particularly love the more spongey textured ones, which this blue piece is.  Over the years I have "inherited" a lot of fabric, and this piece came from a little old lady who did beautiful work in her day.  I know she bought this piece from G Street Fabrics because it still had the tag stapled to it.

I have several princess-line sheaths in my closet, and it is the most flattering style I can wear.  I spent quite a bit of time a few weeks ago perfecting the fit of this pattern (an out-of-print McCall's pattern similar to McCall's 3129).  Even though I have a sleeveless version of this dress, I had not fitted a set-in sleeve previously.  I worked with the short sleeve that came with the pattern and morphed that sleeve cap with another, longer sleeve with a shaped hem.  I feel that I really nailed the fit on this dress but the sleeve still needs some work.  There was so much ease in the sleeve cap that I had a lot of trouble when making my muslin.  I removed as much ease as I dared but was still left with almost 2 inches of extra ease.  I hoped that the lovely easing properties of the wool crepe would save me, and it certainly helped, but the sleeve cap is not as smooth as I would like it.  Luck would have it that a few days later I read about removing sleeve cap ease in Sarah Veblen's great new fitting book The Complete Photo Guide to Perfect Fitting.  I'm going to make another version of this dress and try some of the suggestions Sarah makes to see if I can get a better sleeve.

Some more details about this dress:  I piped the neckline and used an invisible zipper for the closure, though I swear it is my last one.  I am determined to perfect a beautiful lapped zipper application.  The invisible zipper always disappoints me when it comes time to sew the seam below the zipper.  I just can't do it without a little "glitch" where the zipper ends.  The dress is lined with Bemberg rayon which I starched prior to cutting out to tame the slippery, shape-shifting qualities of that fabric.  I made a number of alterations to the pattern including curving the upper back seam which gave me a really nice fit in that area.

I've already pulled out another piece of crepe and plan to make another dress in a shorter version.  In fact, I am busy finding ways that I can make changes to this basic shape to wring out as much wear as I can from one fitted pattern -- given how long it takes to fit one this only makes sense.  It may take a lot of time but the end result is worth it.

Tuesday
Jan312012

More Stitching

I just finished stitching the third (of six) panels for my Alabama Chanin tank dress.  So far I've been able to keep up with my goal of one panel per month (in fact, I'm a little ahead of that goal).  I know that someone is going to ask me how many hours I've invested in this project so while stitching the latest panel I decided to keep track.  I spent 960 minutes (16.3 hours) doing just the stitching on this one panel.  Assuming that's average, it will take about 96 hours to stitch all six panels.  That doesn't include time to cut the reverse applique, bead, construct and finish the garment.  I'm guessing the total will be somewhere around 150-200 hours.  I'm planning to keep track and see.

When I'm not hand stitching I am working on a wool crepe dress that is turning out really great.  I still need to set in the sleeves and do all of the finishing work.   I'm hoping to have it finished this week so I can share it with you.

Thursday
Dec082011

Like Santa's Workshop

Here's how I spent yesterday morning, embracing the new while honoring the old.

My electronic embroidery machine is cranking out little Christmas favors while I sit and hand stitch my Alabama Chanin dress.  New technology meets traditional craft.  It's the best of both worlds.

Many of you have asked me to post progress reports on my dress.  I finished stitching the first of six panels this week and have started on the second.  I'm making great progress at the moment, though a sore stitching finger required that I take a day off today.  Here are some pictures of the completed panel.

I'm waiting to do the reverse applique cutting until I've stitched all of the panels.  I'm still not sure which portions will get cut and which will just stay stitched or get beaded.  I'm finding the process of needle pulling thread very meditative; by the end of the sixth panel I will be a Zen master. 

Tomorrow morning I have a doctor's appointment and, for the first time ever, perhaps, I am hoping they will keep me waiting so I will have lots of time to stitch :-) 

Monday
Sep262011

Happy Anniversary or How a Scrap of Fabric Transformed a Dress

My husband and I are celebrating 10 years of marriage this month.  One way we celebrated was by going on an overnight trip without the kids (for the first time ever), staying in a B&B and having a lovely dinner together.  Several weeks before that event I decided I wanted to make something new to wear, not because I didn’t have something to wear, but more as a symbolic gesture.  I wanted to feel that I could still find the time to sew for me, especially for a very special occasion.  With my limited time I realized this would have to be something super simple and something that did not require much fitting.  I quickly decided to use my Pamela’s Patterns Perfect T-Shirt pattern (which I wrote about here) and lengthen the design to make a dress.  I used a buttery smooth knit for the dress and planned to trim the neckline and sleeve hem with a solid black fabric.  When I went looking for that fabric I also came across this one:

I picked up this novelty knit at a fabric exchange (I think at my friend Jane S’s house).  What you can’t tell from the picture is that the space between the wide ribs is actually sheer.  I’ve kept this small remnant for years with plans to make an evening wear shell.  I decided it would add a lot more interest to this dress than the matte black fabric I had originally planned to use.

I very much liked how the neckline turned out.  When I sent two friends pictures to see what they thought about the overall and sleeve lengths, one of them suggested using some of the same trim down the center front to add some more interest.  Here’s a picture of the dress before the extra trim was added.

I cut two long ribs from the fabric and simply zigzagged the strip to the front of the dress.  I then hand-sewed some dark gray, oval beads down the center space between the ribs.

I love wearing this dress.  It is as comfortable as a nightgown and looks stylish but not too overdone.  I think the trim really elevates this from a ho-hum garment to one with some style.  The pattern is a great one and sews up super fast.  Once it is fitted you can create dozens of unique looks.  I’m heading to the annual Sewing Expo held in my area later this week and I’ll be on the lookout for a piece of knit to make another one of these dresses.