Julie Bowersett

juliebowersett{at}gmail{dot}com
Navigation
Search
Categories

Blog Writing Course Alumni

From Guide to Art Schools

CraftGossip

Entries in t-shirt (3)

Saturday
May192018

Simple T-Shirt Dresses

Last summer I made quite a few dresses.  I find dresses cool and easy to wear, with a bit more style than shorts during the warm weather months.  Being short on sewing time (always) I have been trying to start with patterns I already have fitted, changing them to create a new look.  This time I started with my favorite t-shirt pattern, The Perfect T-Shirt by Pamela's Patterns.  This shirt has a bust dart which I like as well as numerous opportunities to adjust the fit.

I began with my tried-and-true pattern.
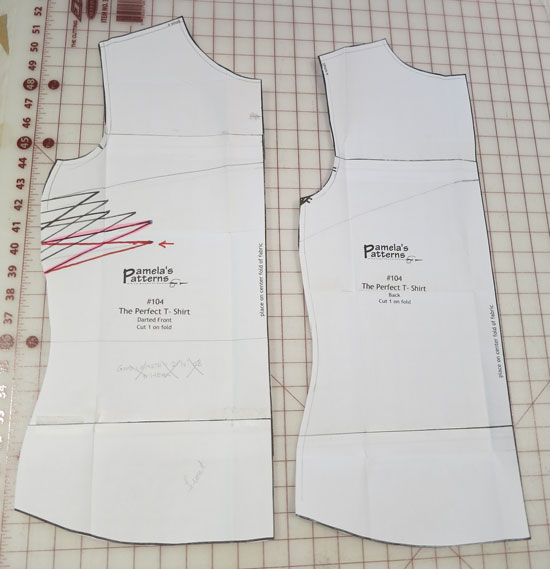
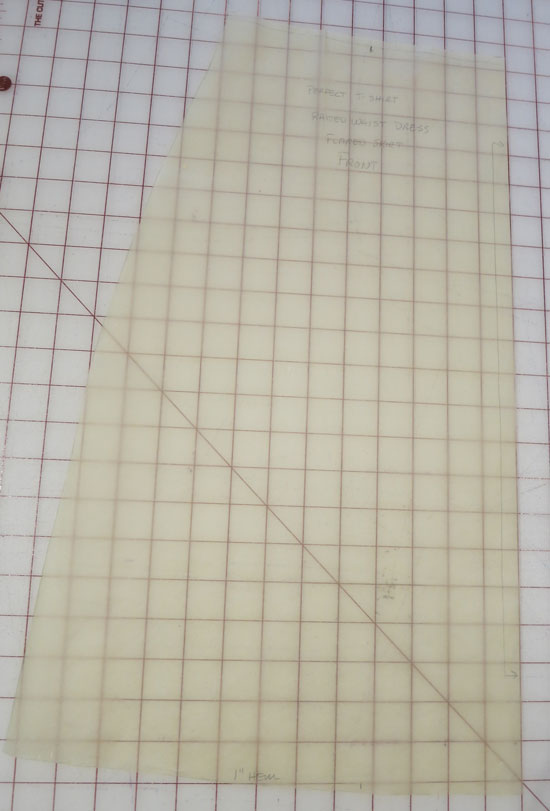
I drew a line perpendicular to the center front at the narrowest point of the waist; you can faintly see the line on the Front pattern in the above picture.  I did the same for the Back.  I retraced the patterns above the lines, adding a seam allowance.
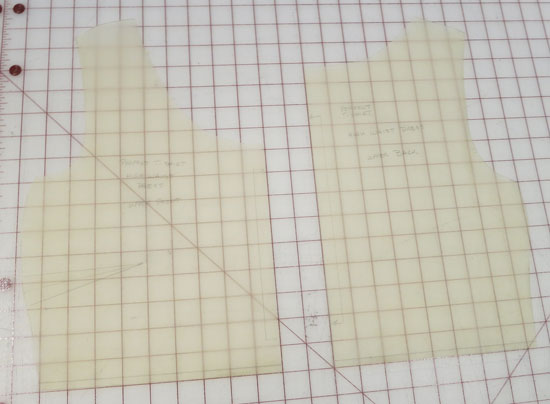
The upper front and back are now finished.

I then worked with the pattern section that remained below the line I had drawn at the waist.  First, I added a seam allowance above the drawn line.  I determined the skirt length that I wanted and extended the center front line to that length.  I also extended the side seam to approximately the same point.  I wanted to flare the skirt but I didn't want to add all of the volume at the side seams (this creates an unbalanced silhouette and can make the side seams appear longer than the rest of the skirt).  Instead, I drew several vertical lines up to (but not through) the seam allowance at the waist, cut along these lines and spread the cuts open to achieve the desired amount of flare.  I drew in a gently curved hem (with hem allowance). When I had all of this complete, I traced a new copy of the skirt pattern.
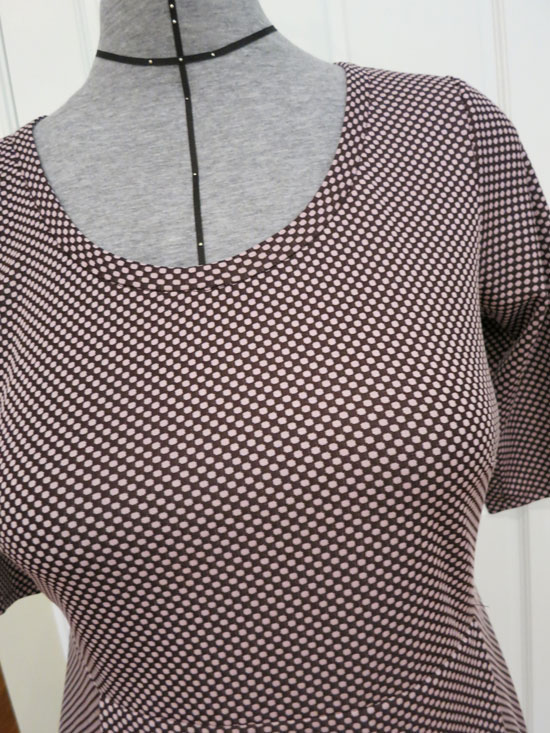
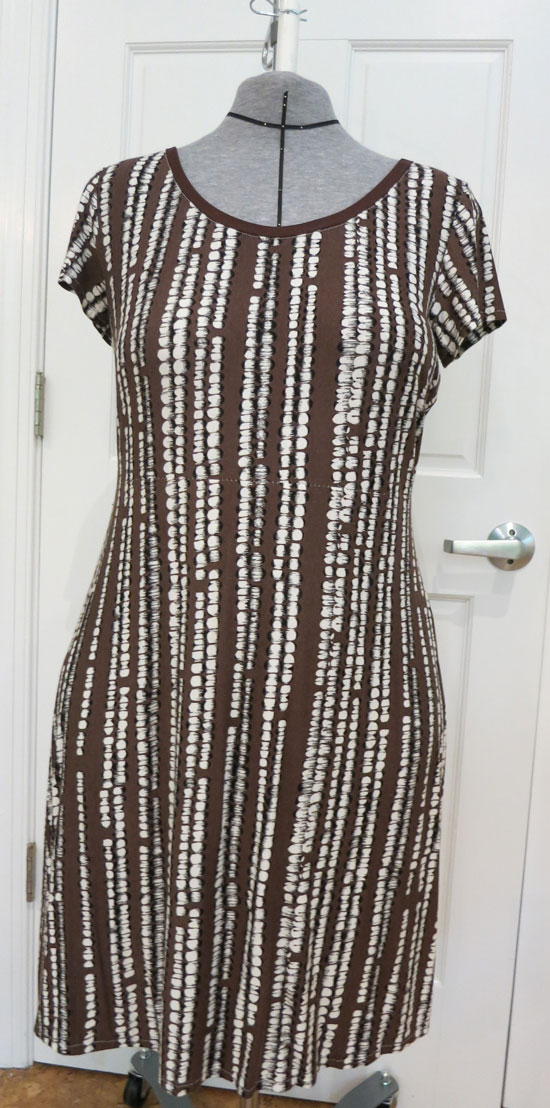
Here's the first dress I made from my new pattern.  I considered this a muslin, but it turned out well enough that I wear it.  It's made from 4-way cotton/spandex jersey.  I bound the neckline with a similar solid fabric.
Several other dresses followed:

This one is made from a cotton/poly slubbed jersey.
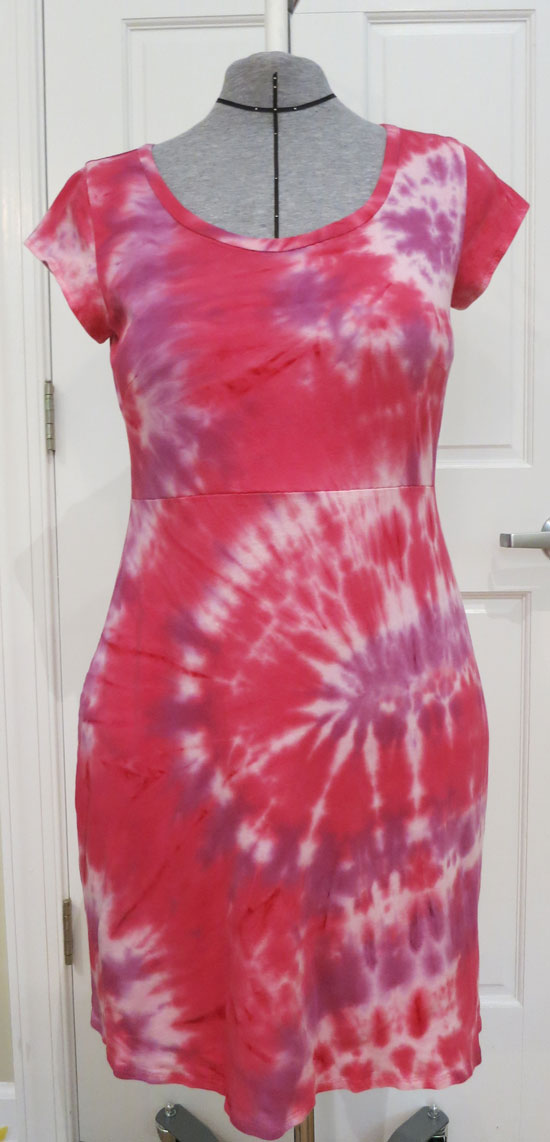
Cotton tie-dye.
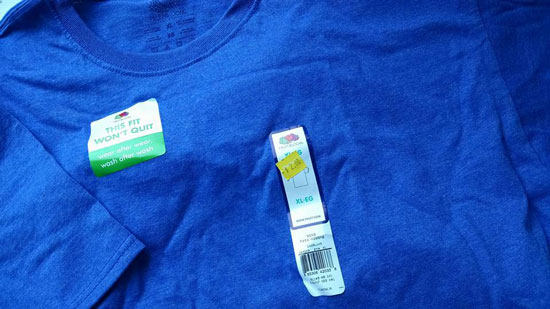
The next dress began its life as two XL t-shirts that I paid $2.00 each for. 
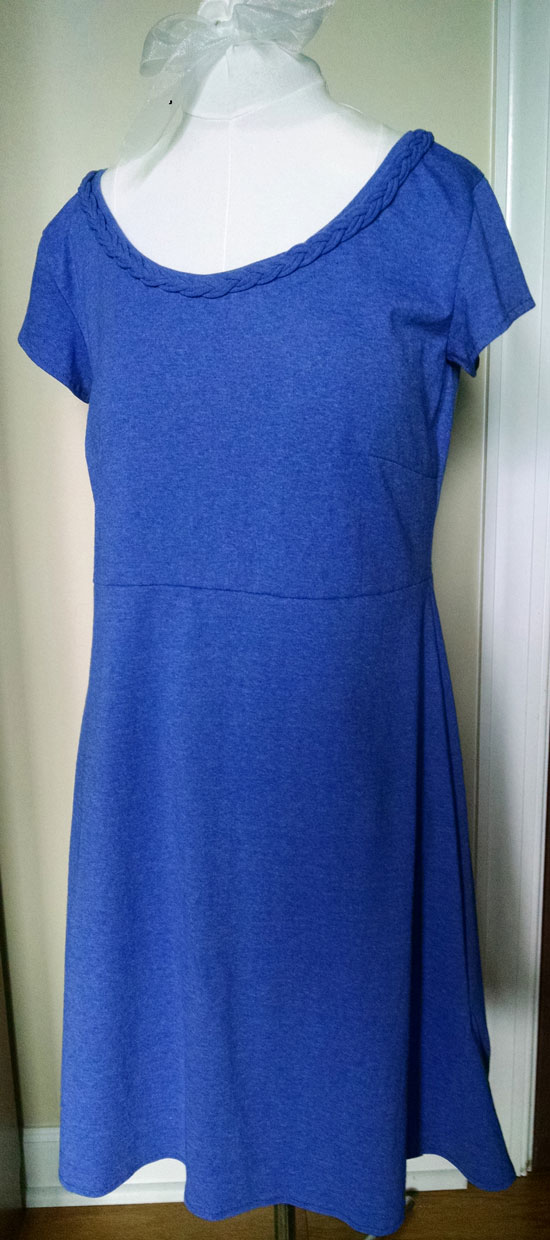
I added a braided trim around the neckline.
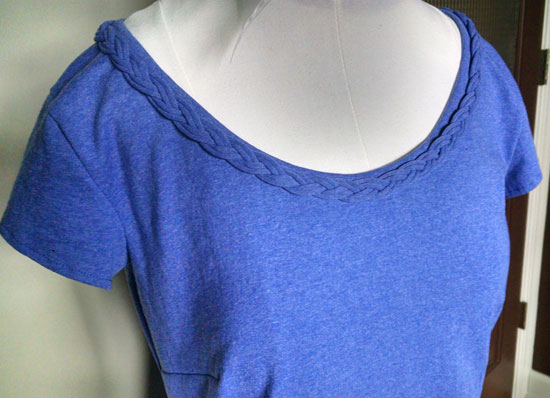
The braid looks more complex than it is.  I took advantage of the fact that knit jersey will roll along the cut edge.  The braid is formed from three strips of fabric cut on the cross grain.  I allowed the edges to curl in before performing a simple three-strand braid.  The two rolled edges of each strip make it appear that the braid was formed from doubled tubes.

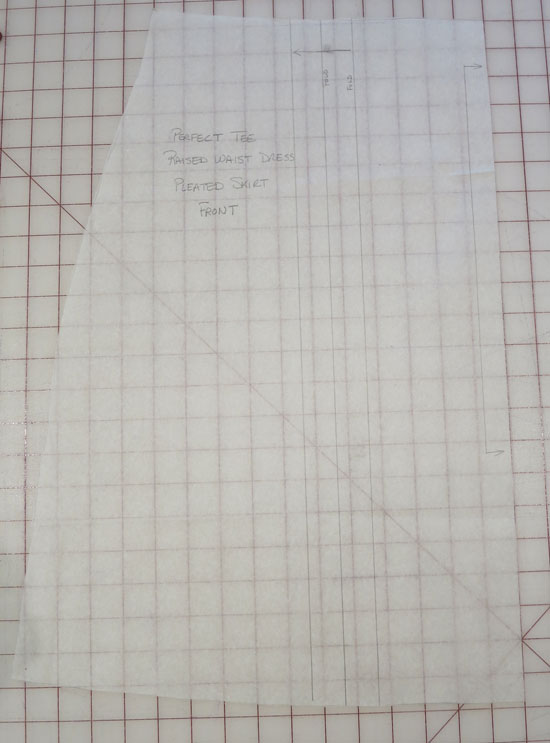
I had one final dress in mind but it required some additional pattern work.  I wanted to add a pleat on either side of center front on the skirt.  I determined the pleat depth and cut the pattern vertically, adding in additional pattern paper to account for the pleat.
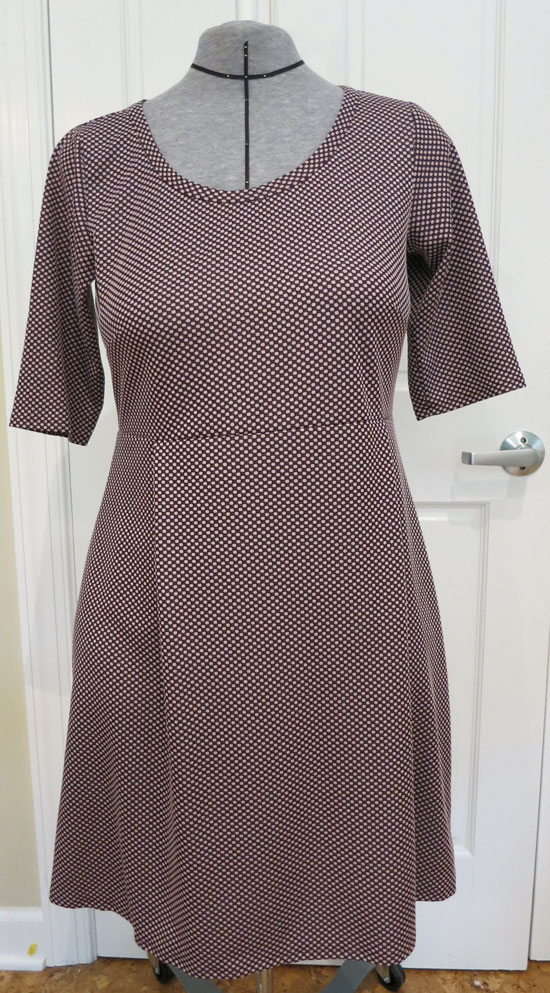
I hope this post will inspire you to use your own t-shirt pattern to create new designs with just a little bit of simple pattern work.

Wednesday
Feb292012

Appliqued Heart T-Shirt

Here's the second piece in my "t-shirt series".  This shirt gave me a little trouble from the start.  I used a white cotton t-shirt that I bought at my local thrift store, but it was a little too big to give a good fit.  I tried to take it in a little, but there's not much you can do with a too-low armhole.  I ended up cutting it open at the side and underarm seams (leaving the neckline uncut), adding a bust dart in the armhole, sewing it back up again and putting in a new hem along the bottom.  It still doesn't fit as well as a shirt made from scratch but it will do.

The design is from a stencil I ordered from istencils.  They have a large selection of stencils at very reasonable prices, and you can order the stencils in a range of sizes.  I cut the heart pieces from some fabric scraps leftover from a previous skirt project and appliqued them on with buttonhole craft thread.  It was a challenge to work with the tiny little pieces.  This will be a good casual addition to my wardrobe.

I have several exciting sewing related notes to report: 

  • I've finished stitching the fourth panel of my Alabama Chanin dress (2 more to go);
  • I am participating in an online class with Susan Elliot (who does beautiful hand embroidery and has a wonderful blog, Plays With Needles) and we are making a needlebook inspired by the Japanese ceremony of broken needles called Hari-Kuyo (I'll be posting about this once I've finished the book).  Thanks to Daphne (who also has an adorable blog at The Imperfectionary) for introducing me to Susan's work;
  • I leave on Friday for a three day class with Sarah Veblen.  It's been almost 2 years since I last worked with Sarah, and to say I'm excited would be an understatement.  Those of you who know Sarah know what a wonderful teacher she is.  And having three days away (and with my great pal Joyce, too!) is just a real treat.  Thanks to my husband for keeping the home fires burning while I'm gone.  You'll get a full report when I return.

Wednesday
Feb152012

Mindful Choices

Recently I have been thinking a lot about the choices I make in my life.  One of my long term goals is to try to incorporate as many sustainable choices as I can, be it decisions regarding food, cleaning products or clothing.  I realize this process is slow and made up of lots of little changes rather than one big lifestyle change.  Along those lines, my closet really needs a major overhaul.  It is full to capacity though I probably only wear about 20% of what’s in there.  I’ve just started the process of discarding items I will no longer wear.  More importantly, I am determined to only add items back in that really match my lifestyle and that will get worn.  To that end I’ve taken stock of the type of clothes I like to wear and have made a plan to add to my wardrobe in a mindful way.

First, I’ve made a vow for 2012 to buy no clothing from a chain store.  I’m planning to limit my purchases to the excellent local thrift stores in my area.  Anything else will have to come from my sewing room.

My lifestyle as a stay-at-home-mom doesn’t require a lot in the way of wardrobe choices.  In the winter, my “uniform” usually consists of jeans and a long sleeved t-shirt topped with another layer.  As anyone who reads my blog knows I am really in love with the hand-stitched clothing of Alabama Chanin, and I think t-shirts would be the perfect place to start my clothing plan – something that can be completed quickly and will be useful additions to my wardrobe.  I envision using appliqués, stencils and embroidery to create unique designs.  Remember all of those t-shirts I bought recently at my thrift store?  Those are my raw materials.

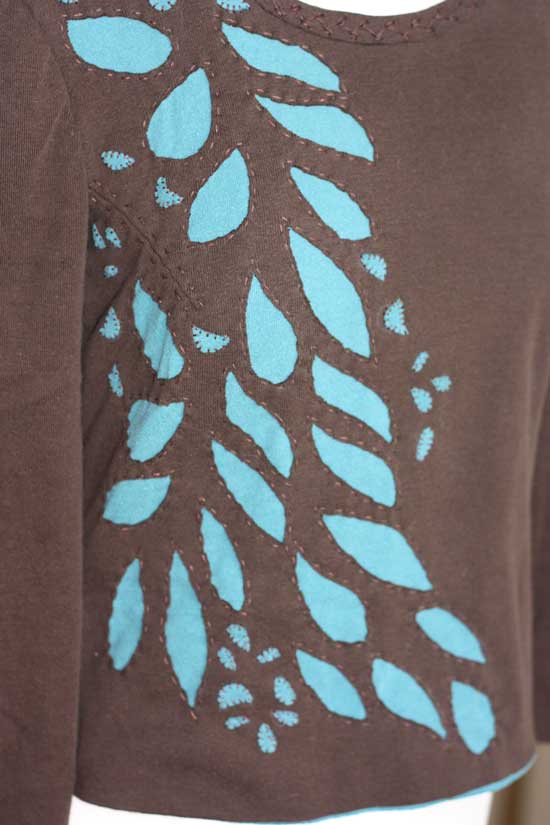
This past week I finished my first shirt.  It was a fantastic experience (though my finger is still a bit sore from all of the hand stitching).  It did not take nearly as long as I thought it would, and the process was so enjoyable.  I began by deconstructing two t-shirts, one long-sleeved, the other short.  Let me tell you:  if you have never cut apart a t-shirt you have been missing out on life.  There is something really gratifying about slicing into heavyweight cotton.  Once I had the shirts in pieces I cut out the "new" t-shirt from a Burda pattern I fitted a number of years ago.  I cut a double layer for the front and back but only a single layer for the sleeves.

I traced the stencil design that I chose (the Bloomers stencil from Alabama Stitch book) onto what would be the top layer of the shirt.  I layered that with the corresponding underlayer and began stitching.  I first stitched the bust darts through both layers.  I slit the dart and felled the dart legs open.  Next I used a running stitch around the larger leaves, then completed the reverse appliqué by trimming away the top layer.  For the smaller designs I cut the shapes from scraps of the green fabric and appliquéd them on with a parallel whipstitch.

The construction was all done by hand.  It went together pretty quickly, maybe 1.5 hours which included felling the shoulder and side seams.  The most time-consuming part was putting on the neck binding.  The chained feather stitch was new to me, and it took some practice before I got into the rhythm of the stitching.

All in all I spent about three days working on this shirt, not the 3 hours needed to whip one up on the serger but not a large investment of time for a really unique garment.  I know I will get a lot of wear from this shirt, and I can’t wait to start my next one.  I’m hoping to complete 3 or 4 more before the spring when I’ll start on my short-sleeved versions for the summer.  Watch for more coming soon.